Rough-In Redlines for Windows

How-to videos

One job per video, each under a minute and a half, with the steps written out underneath. The iPad and Mac app works the same way.

Getting started

Video coming soon

01 · 35 s

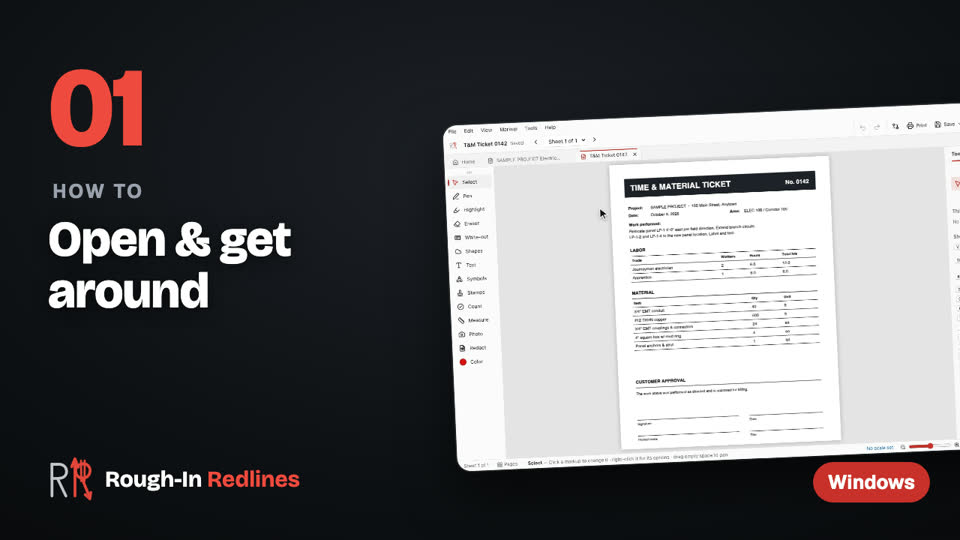
Open a drawing and get around

Open a PDF set, zoom, scroll through the sheets, jump to a sheet and switch between drawings with tabs.

  1. Click Open file and pick a PDF
  2. Hold Ctrl and roll the wheel to zoom
  3. Fit the sheet to the window
  4. Roll the wheel to scroll through the sheets
  5. Click "Sheet … of 4" to go to a sheet
  6. Open another drawing — it gets its own tab
  7. Click a tab to switch drawings
Video coming soon

02 · 47 s

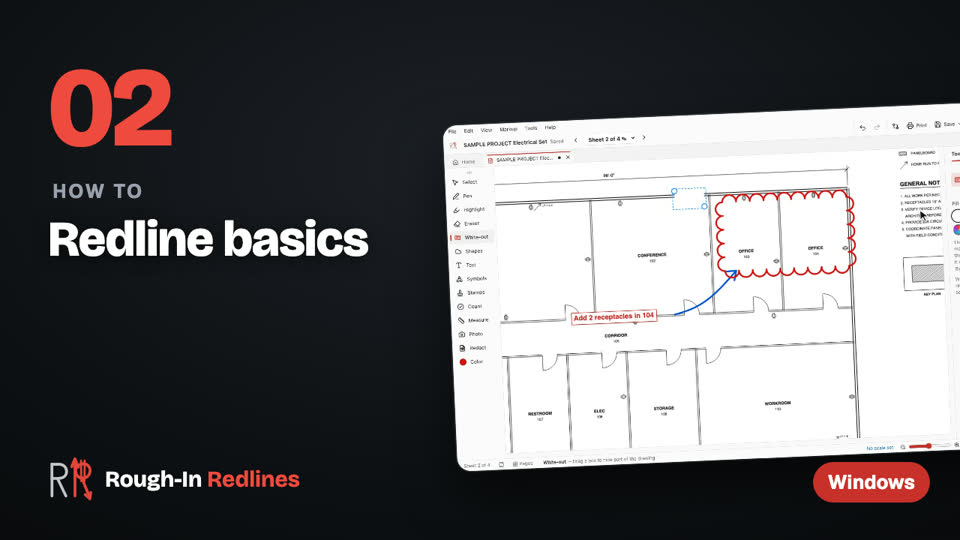
Redline basics

The everyday markups: pen, revision clouds and shapes, text notes, white-out with a fill color, and undo/redo.

  1. Pick Pen, a color and a width
  2. Draw on the sheet
  3. Shapes → Cloud: drag around the change
  4. Text: click the sheet and type a note
  5. White-out: pick a fill, drag a box
  6. Made a mistake? Undo (Ctrl+Z)
  7. Redo (Ctrl+Y) brings it back
Video coming soon

13 · 49 s

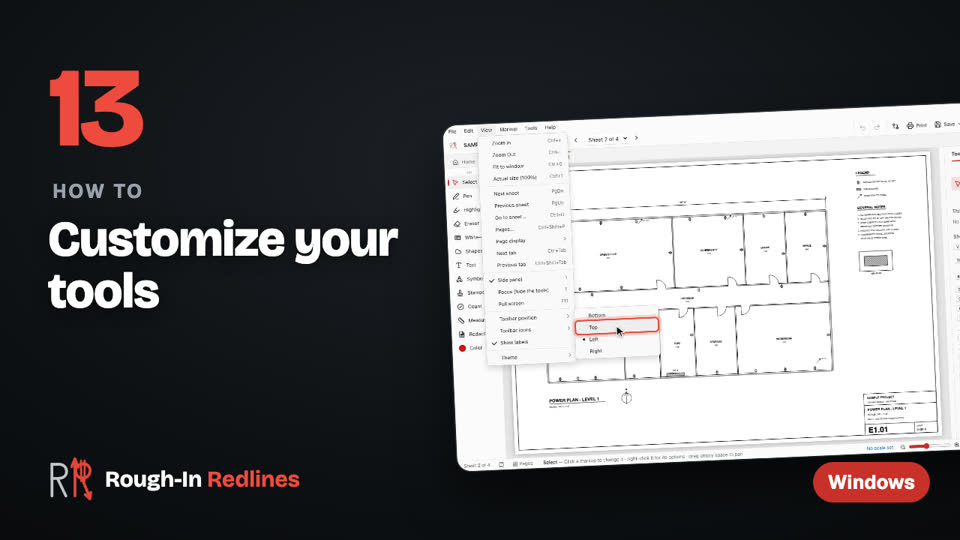
Customize your tools and toolbar

Settings → Tools: Simple markup for the office or every tool for the trades, single tools on and off, and the toolbar on any side of the window.

  1. Tools → Settings…, then the Tools section
  2. Simple: just the markup tools, for the office
  3. Trades: every tool, for the field
  4. Or switch single tools on and off
  5. View → Toolbar position: Top, Left, Right or Bottom
  6. Or drag the toolbar by its grip

Marking up

Video coming soon

03 · 60 s

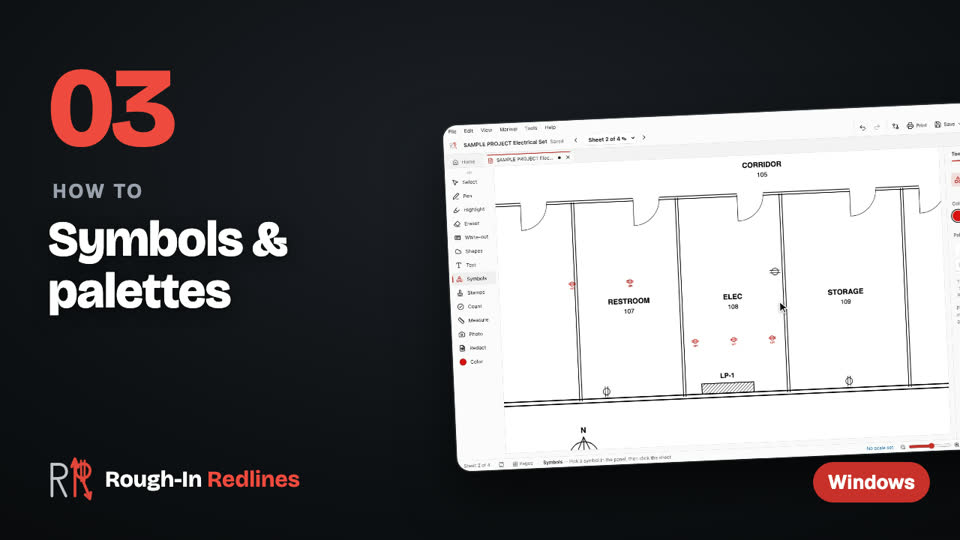
Symbols & palettes

Place symbols, drop copies with Copy & Place, make your own palette, capture a symbol off the drawing and import a Bluebeam tool chest (.btx).

  1. Symbols: pick one, click the sheet to place it
  2. Copy & Place: select one, click for copies
  3. My Palettes: New makes your own palette
  4. Capture Symbol: box anything on the drawing
  5. Import a Bluebeam tool chest (.btx)
Video coming soon

07 · 40 s

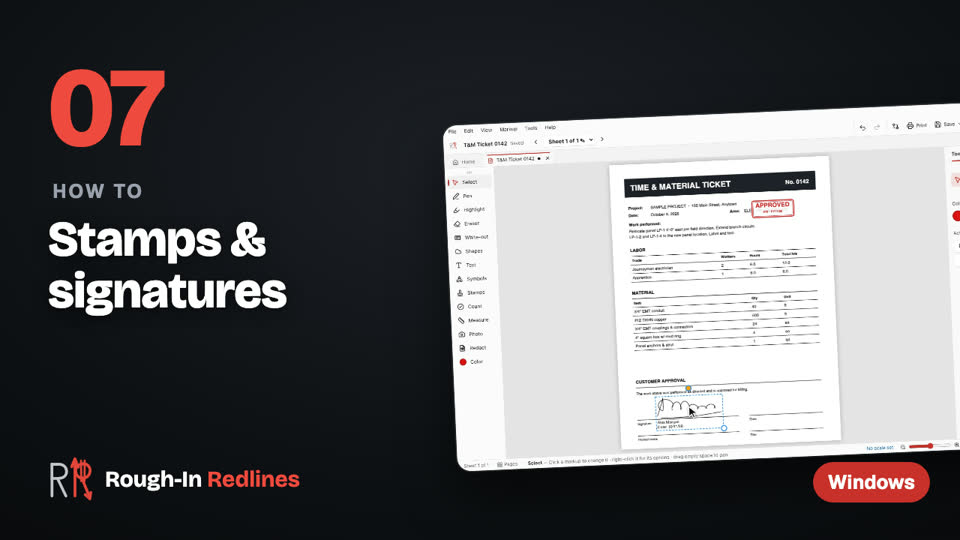
Stamps & signatures

Stamp with your initials and the date, draw your signature once and sign tickets and forms with the date and your printed name.

  1. Stamps: pick a stamp
  2. Click the sheet — adds your initials and the date
  3. New signature: draw it once
  4. Click to sign — with the date and your name
  5. Next time, pick it under My Signatures
Video coming soon

08 · 34 s

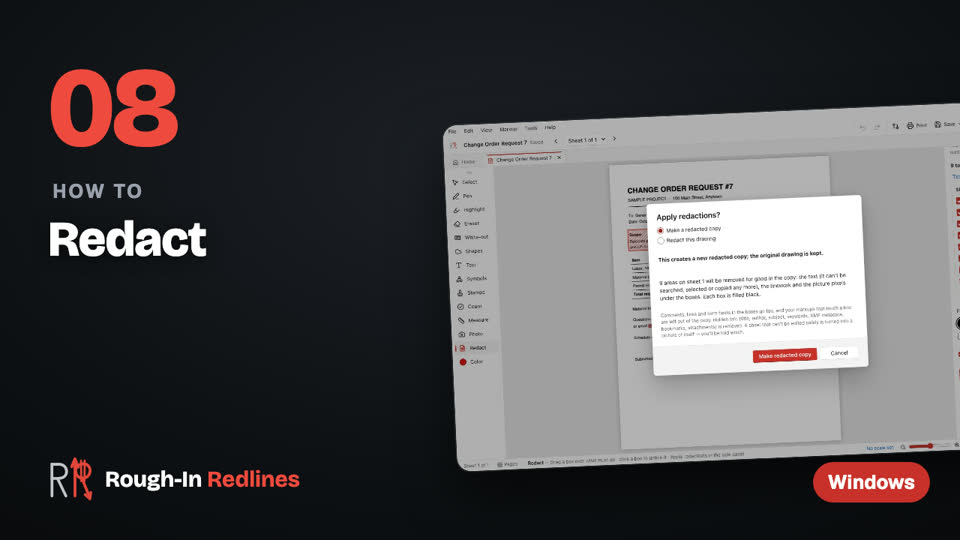
Redact

Search & redact names, phone numbers, emails and prices, box anything else, then make a redacted copy or redact the drawing itself. The text is removed, not just covered.

  1. Open Redact on the toolbar
  2. Search & redact: type a name, tick what to find
  3. Click Find — every match gets a box
  4. Or drag a box over anything else
  5. Apply redactions…
  6. Make a redacted copy, or redact this drawing
  7. The copy opens — the text under the boxes is gone

Counting and measuring

Video coming soon

04 · 44 s

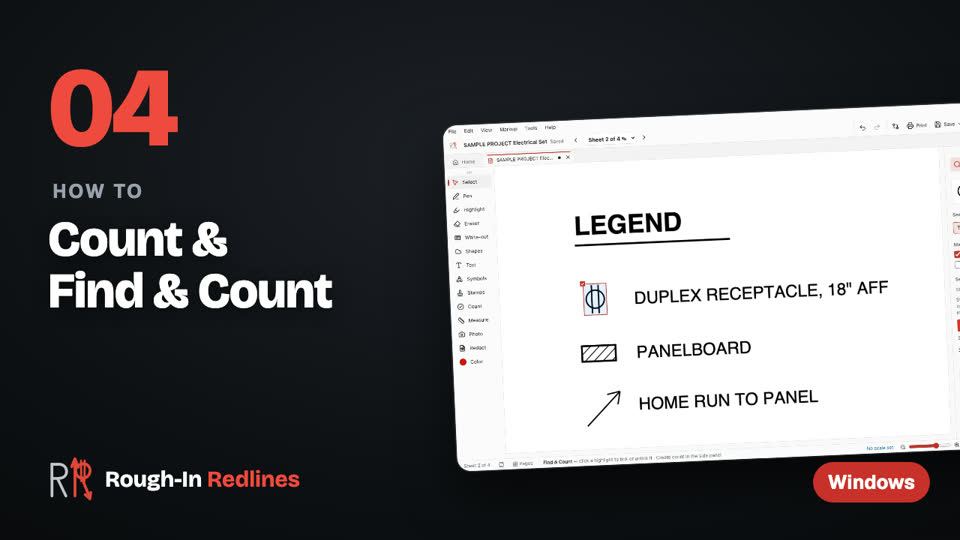
Count and Find & Count

Count by clicking, or box one symbol and let Find & Count mark every match on the sheet.

  1. Count → New count, give it a name
  2. Click each one on the print
  3. Click a mark again to take it off
  4. Find & Count: box one symbol
  5. Click Find — it marks every match
  6. Click any that don't belong, then Create count
Video coming soon

05 · 39 s

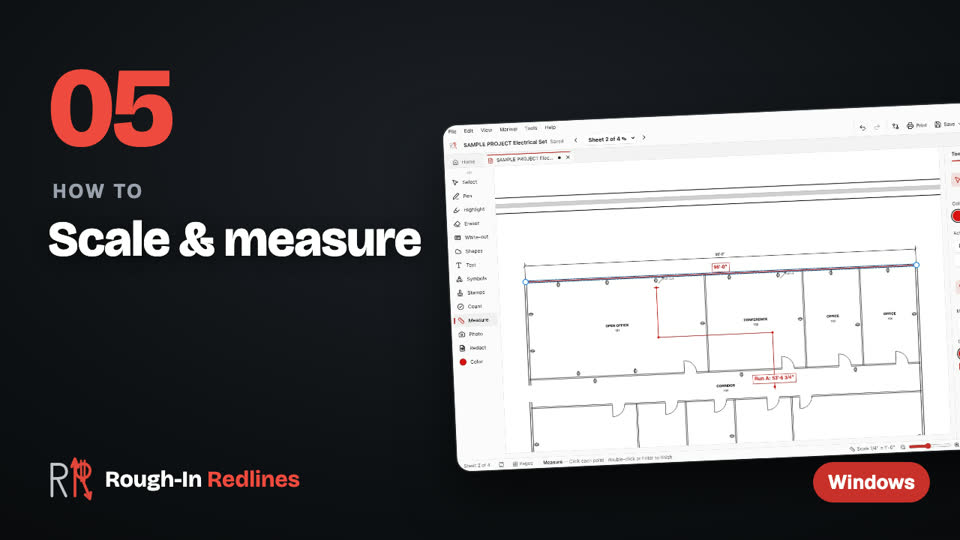
Scale & measure

Use the scale printed on the sheet, measure distances and runs, or calibrate from a known dimension.

  1. Pick Measure — it reads the scale off the sheet
  2. Click Use it
  3. Click two points to measure
  4. Run: click each point, double-click to finish
  5. No scale on the sheet? Calibrate

Revisions, files and pages

Video coming soon

06 · 42 s

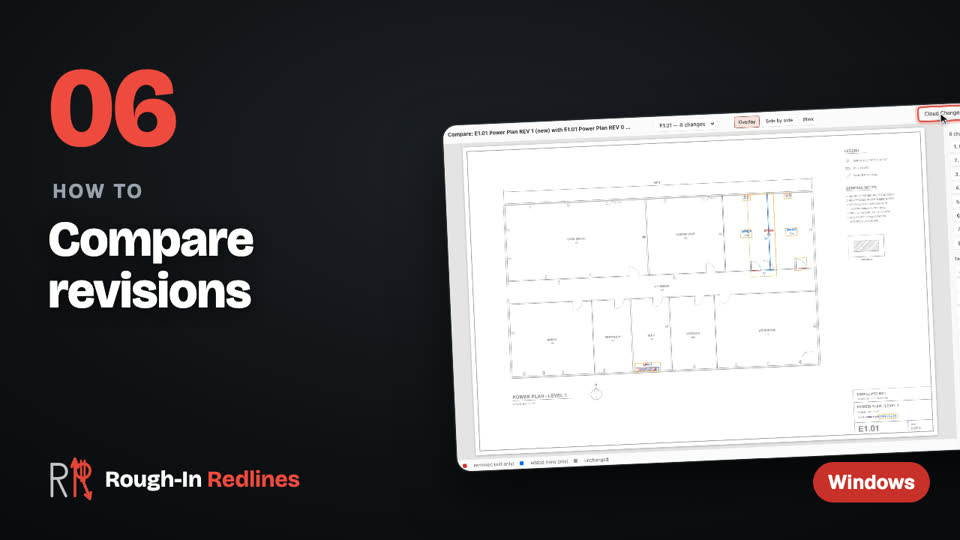
Compare two revisions

Compare a new print with the old one: changes are listed and marked, check them side by side or with Blink, cloud them and bring your old markups over.

  1. With the new revision open: Tools → Compare
  2. Pick the older print, click Compare
  3. Changes are marked — click one to go to it
  4. Check it Side by side, or Blink
  5. Cloud Changes clouds them on the new sheet
  6. Bring Markups over from the old print
Video coming soon

09 · 39 s

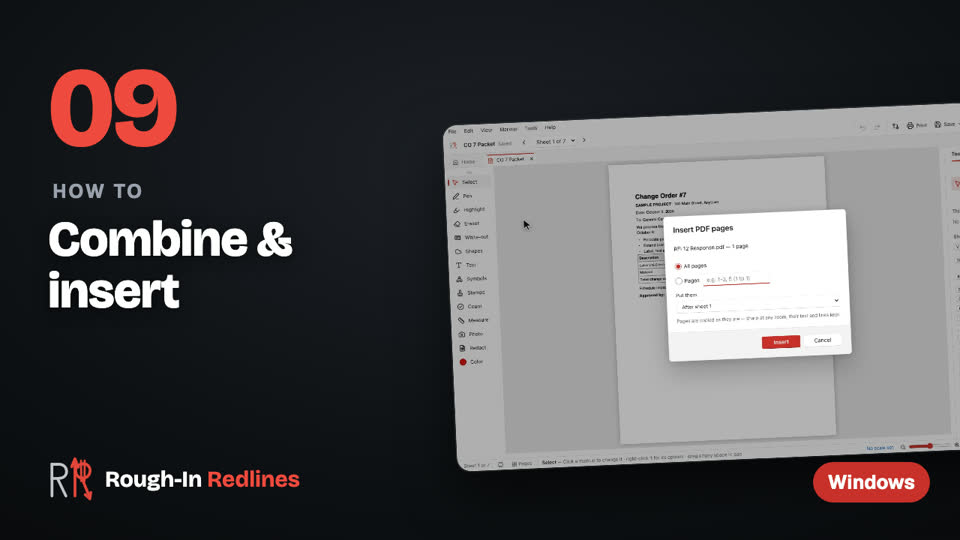
Combine files & insert pages

Build one drawing from PDFs, Word and Excel files and photos, insert more pages later, or just drag a file onto the window.

  1. On Home, click Combine files
  2. Add PDFs, Word, Excel and pictures
  3. Word and Excel are turned into PDF pages
  4. Put them in order, name it, click Combine
  5. Add more later: File → Insert PDF pages…
  6. Or drag a file onto the window
Video coming soon

10 · 33 s

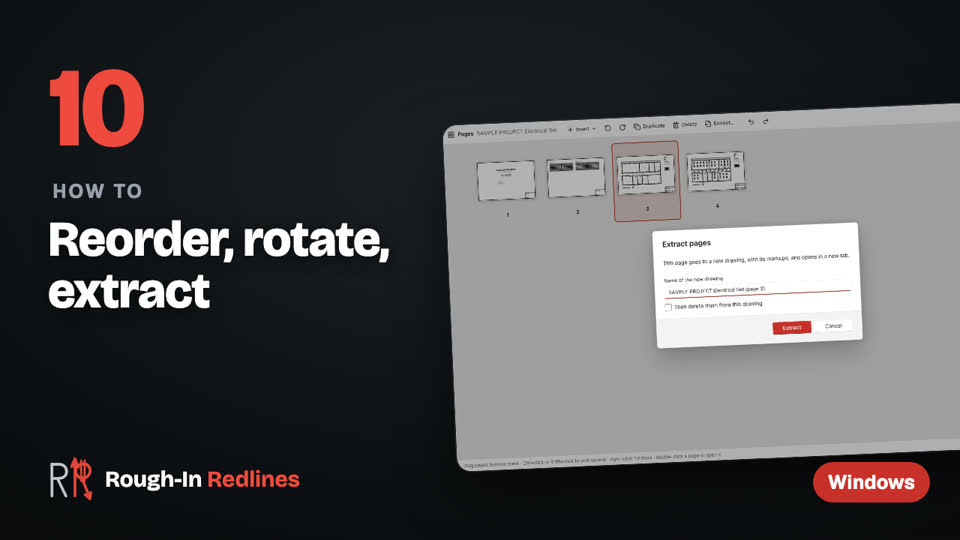
Pages view: reorder, rotate, extract

In the Pages view: drag pages into order, rotate them, undo, and extract pages into a new drawing.

  1. Click Pages in the status bar
  2. Drag a page to a new spot
  3. Click a page, then Rotate
  4. Undo works here too
  5. Extract pages into a new drawing
  6. The new drawing opens in its own tab

Print, send and sync

Video coming soon

11 · 31 s

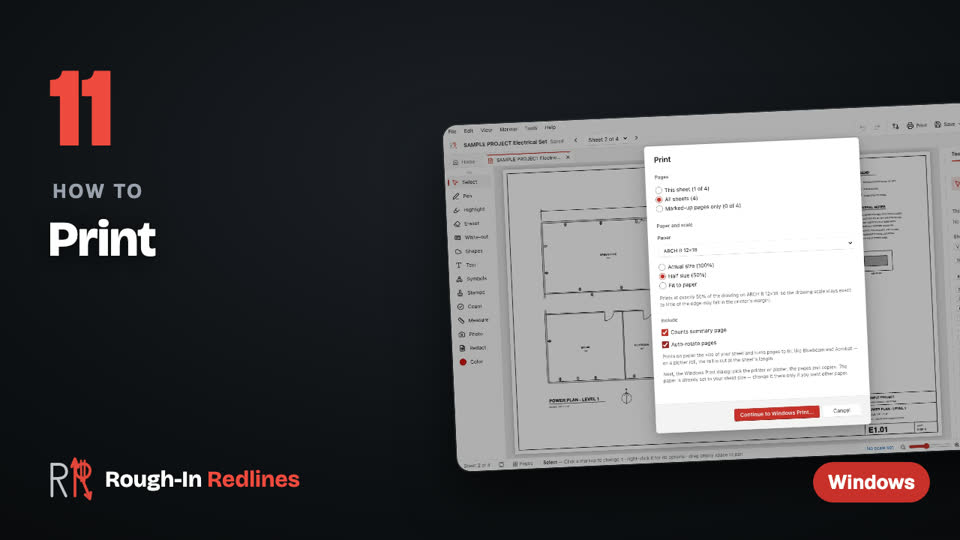
Print to a printer or plotter

Pick the pages and the paper (Letter to Arch E), print at actual size, half size or fit to paper, with auto-rotate, then choose your printer or plotter.

  1. Click Print (or press Ctrl+P)
  2. Print this sheet, all sheets, or marked-up ones
  3. Pick the paper: Letter up to Arch E
  4. Actual size, Half size or Fit to paper
  5. Auto-rotate turns each sheet to fit the paper
  6. Continue → pick your printer or plotter in Windows
Video coming soon

12 · 31 s

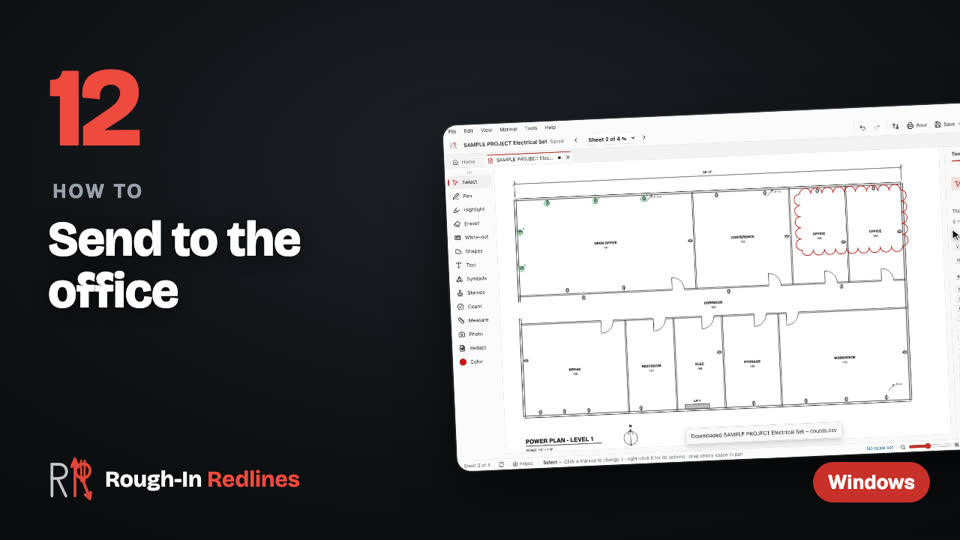
Send to the office

Export a PDF whose markups stay editable in Bluebeam and Acrobat, a flattened PDF, the counts as a CSV, or the whole job as a .redline file.

  1. Export → PDF for Bluebeam / Acrobat
  2. Markups stay editable comments in their PDF app
  3. Flattened PDF: markups printed onto the sheets
  4. Counts CSV: the totals, for the estimate
  5. Save → .redline file: the whole job, editable
Video coming soon

14 · 36 s

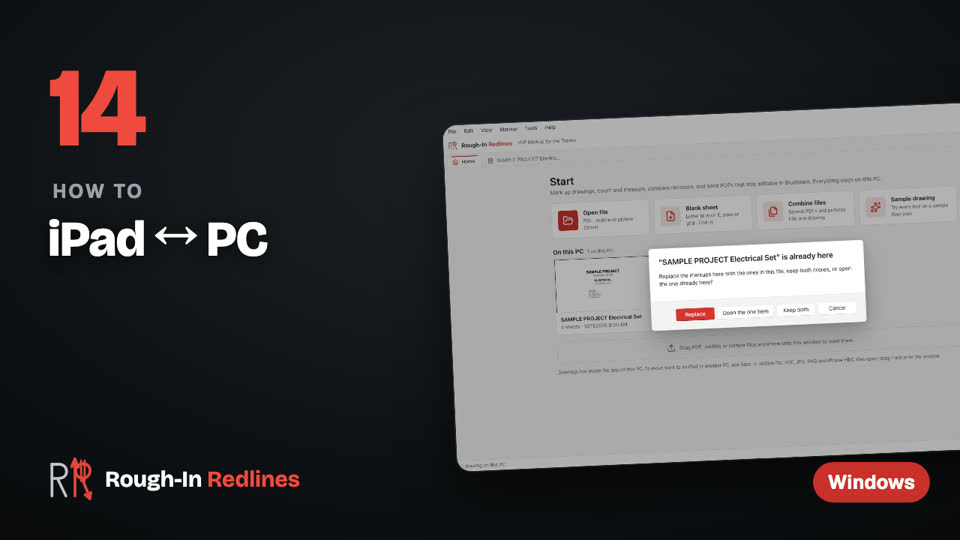
Move drawings between iPad and PC

Save a .redline file on the PC, open it on the iPad, mark up in the field and bring it back, with every markup and count.

  1. On the PC: Save → .redline file
  2. It holds the drawing and every markup
  3. Send it to the iPad: email, OneDrive, Teams…
  4. On the iPad: mark up, then Share → .redline file
  5. Back on the PC: Open file and pick the .redline
  6. Already on this PC? Replace it, or keep both
  7. Markups, counts and photos come along

Your license

Video coming soon

15 · 34 s

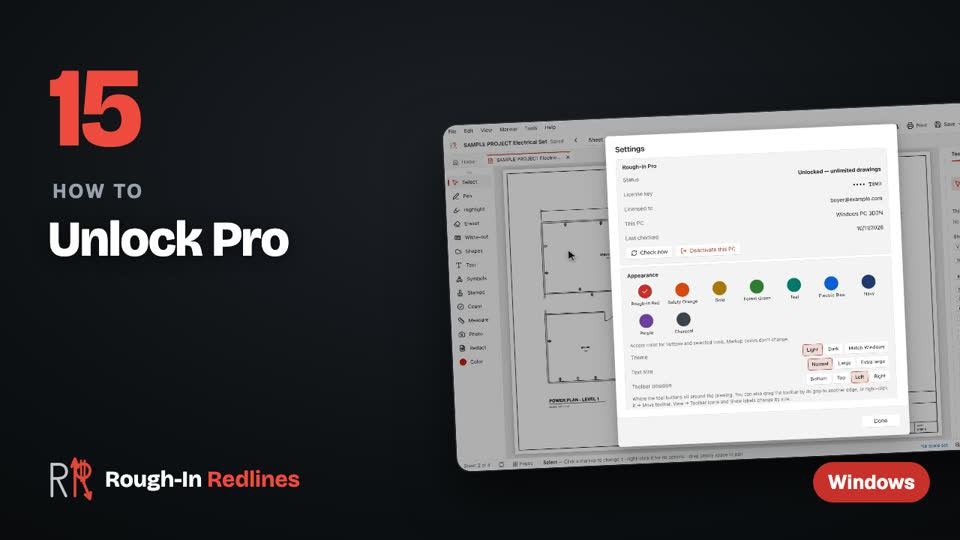
Unlock Rough-In Pro & move your license

Free for 3 drawings; a one-time license key unlocks unlimited drawings. Activate it, and deactivate a PC to move the key to a new one.

  1. Free: every tool, on up to 3 drawings
  2. Click the chip — Buy opens the store, the key comes by email
  3. Paste the license key, click Activate
  4. Pro: unlimited drawings on this PC, works offline
  5. Moving to a new PC? Settings → Rough-In Pro
  6. Deactivate this PC, then enter the key on the new one

Something not covered? Email support@roughinredlines.com or see Support.